Monday, 3 February 2025

Refining and smoothing the forms

Completed forms ready to go

With the band saw out of commission due to a broken blade, I was stopped in my tracks from cutting and shaping the forms along the paper pattern. I resorted to using my Mitabo jigsaw, which had served me well during the fitout of Malua; however, that also threw in the towel when the plunger tube broke from metal fatigue.

I searched the internet for a band saw blade and found two Canberra shops – one of which I had dealt with before to replace the said blade. Driving around the industrial area to see if I could get a replacement immediately proved fruitless. Both hits were closed down, and the standard tool shops with a large range of hand and workshop tools just looked at me blankly with no choice or suggestions. So I "jumped on the internet" and ordered two from China and one from a Brisbane saw and knife sharpening outlet. The latter was about twice the price, which did not include express postage. Now 10 days later, the Brisbane mob don't know when my new blade will be ready, though they assure me it is on their list to attend to, while the Chinese supplier informed me it is with the local Australian carrier and will be delivered tomorrow. Now that is service and why Australian manufacturing cannot compete.

During my search for a replacement jigsaw, I found a Makita very similar to my broken one and ordered that to also be express delivered from Sydney. It took more than a week to arrive, but it turned out to be a great replacement.
After ordering the replacements, I thought it time to take a break and visit Bermagui to continue my consulting work writing operational procedures for the commercial fishing vessels. It was a long drive, but when I returned, I was able to focus on the winter project of fitting the forms to the strongback.

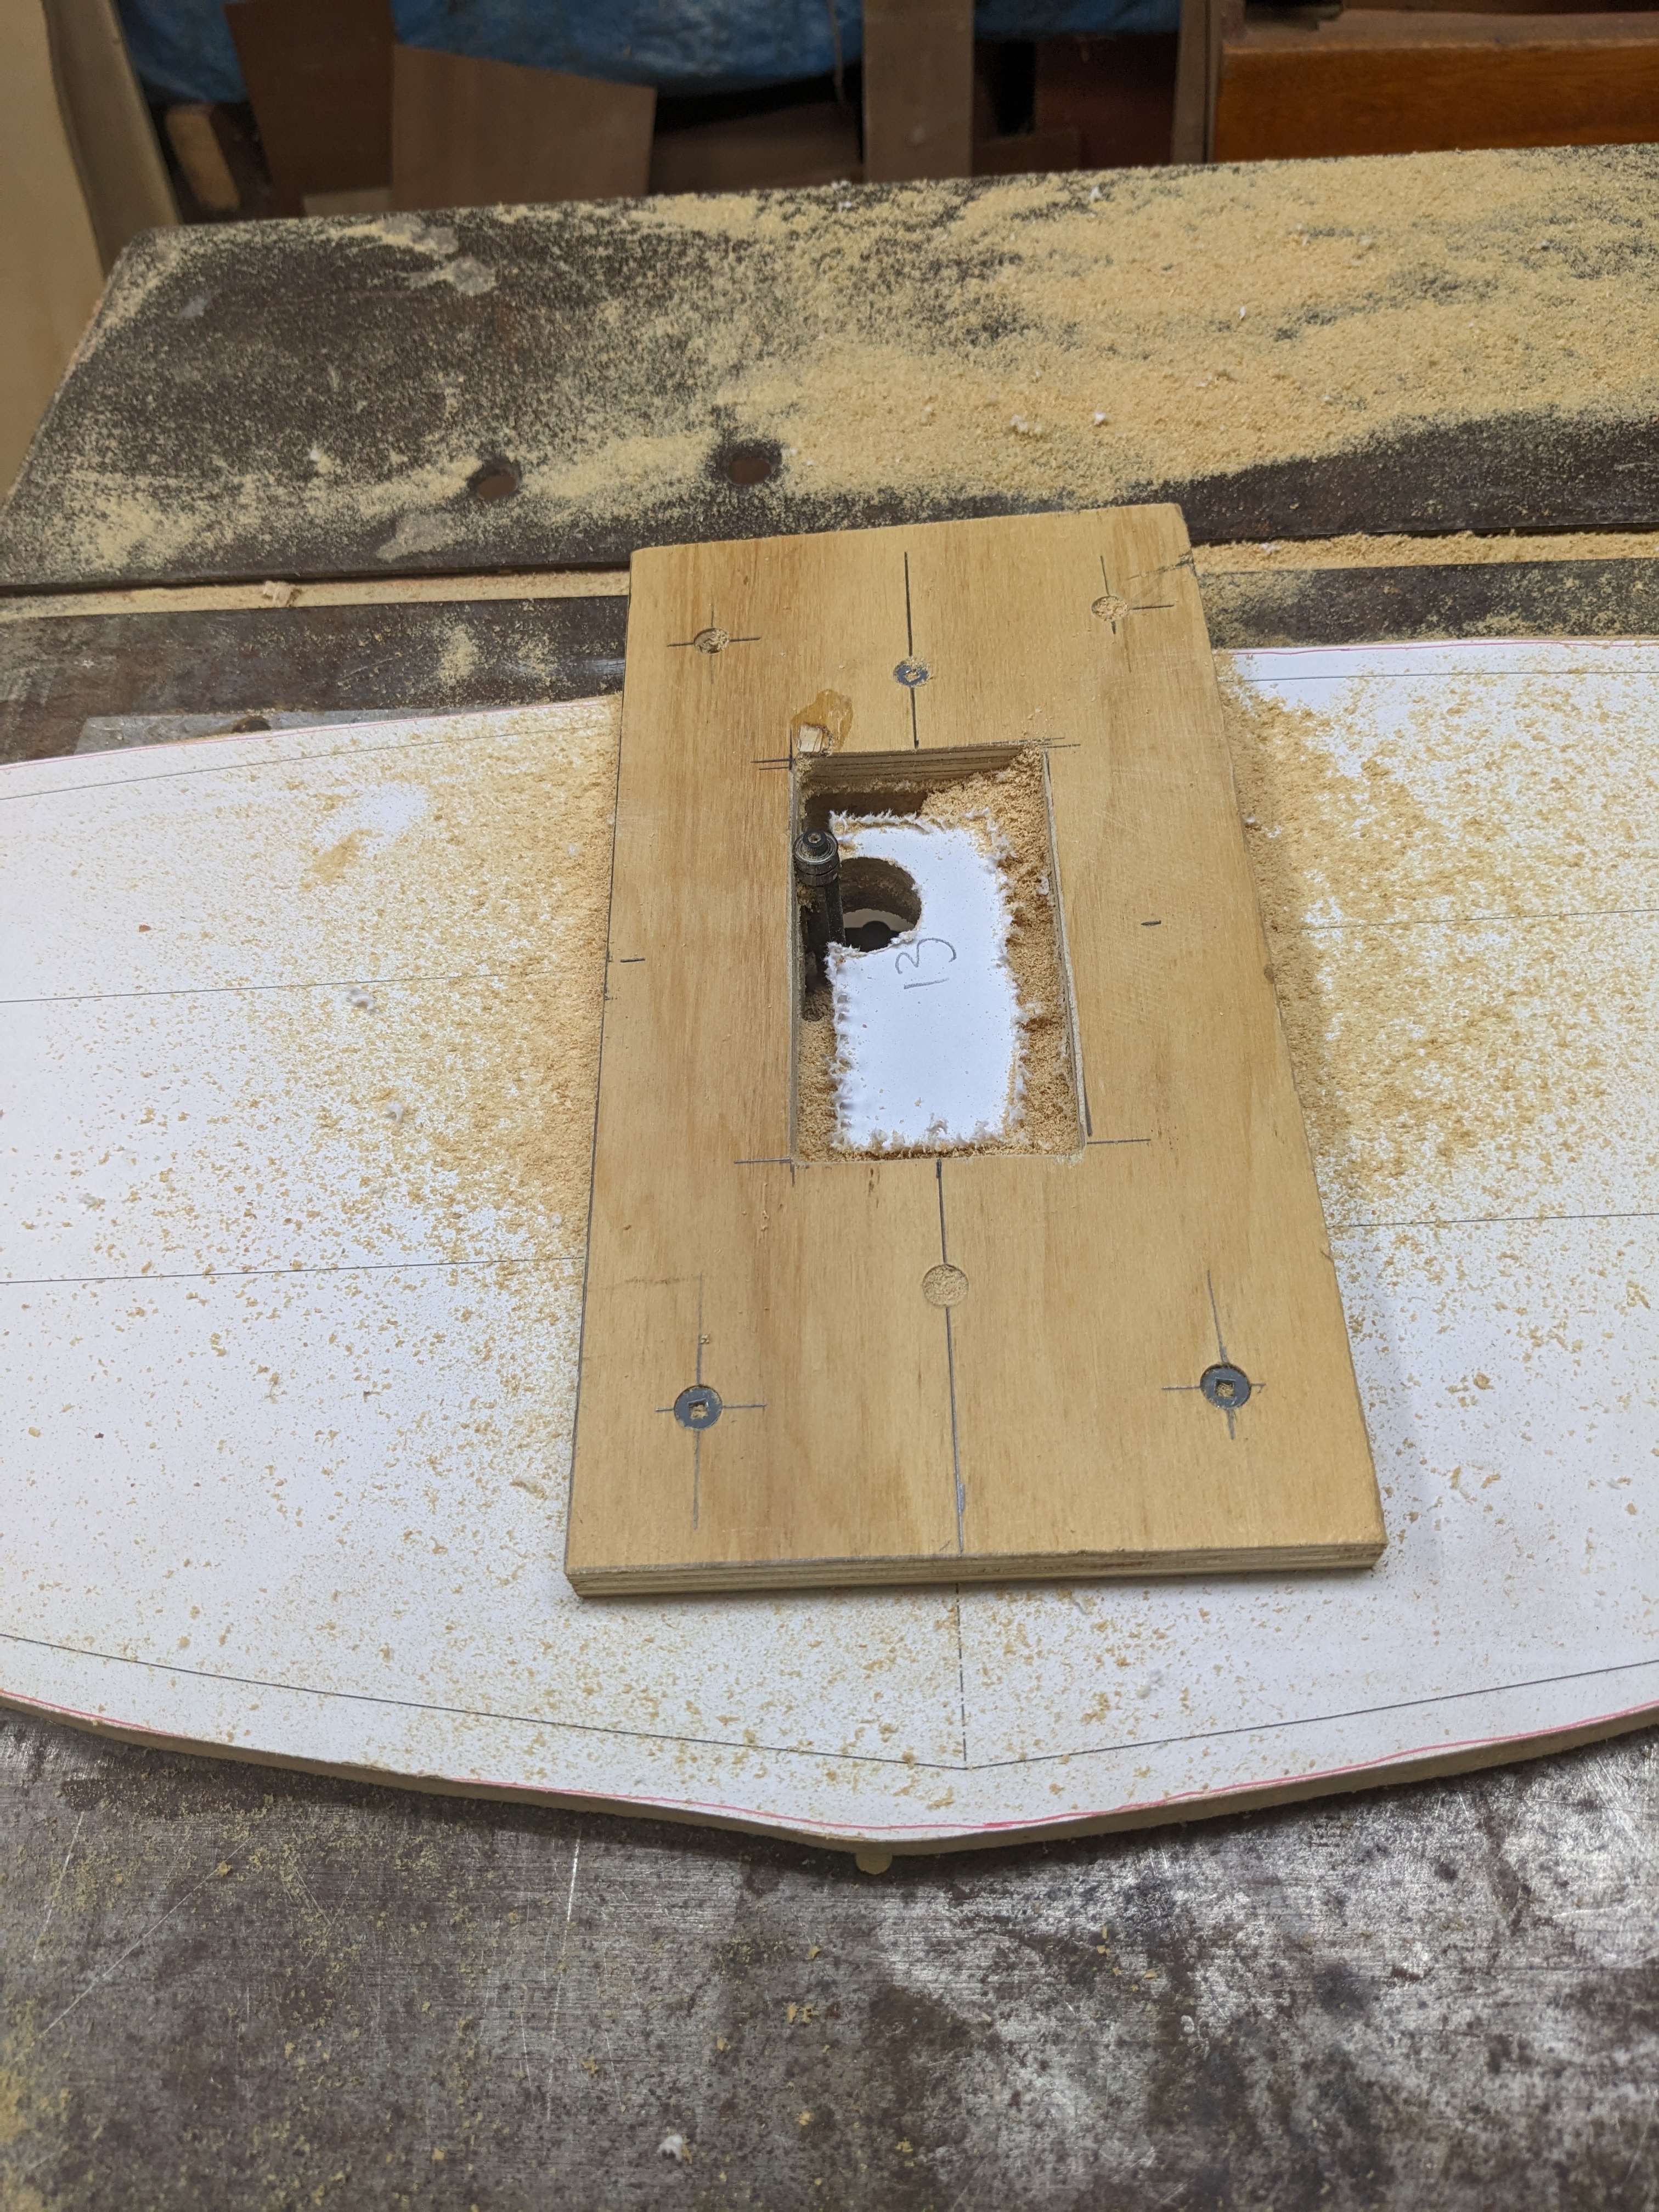
Back in the workshop, without either a bandsaw or a jigsaw, I set about drilling holes in the forms to accommodate clamps to be used to hold the strips to the forms. The drill press came in handy. All done. Wait for jigsaw.
Drill press for holes

The new jigsaw turned out to have the latest features of speed control and tilting cut. I tested the new saw by cutting out the clamp shapes and found it to work very well indeed.
Cutting clamp holes

I used the tilting feature of the jigsaw to great effect. As each form gets narrower towards the bow and stern, the ¾-inch wide form narrows as well. The paper pattern indicates the exact outline where the strips are to be attached to the form, but one has to make adjustments for the width of the form. One has to cut the form along the paper but angle the wood behind that to follow the lines of the kayak strips. These lines change radically near the pointy ends but are gradual at the middle. They are also not a consistent angle as one moves around the form from the keel to the top of the deck.

To address the issue, one cuts the form slightly larger and then uses a sander to angle the form to fit the line. The recommended method is to use a vertically mounted belt sander, but I tried that and found it difficult to adjust the angle, so I resorted to my trusty rotating sanding disk attached to a slow but powerful electric motor. I was able to adjust the angle as I moved around the form, and this smoothed them to suit the strips.
Smoothing form on rotary sander

Then an idea came to me to use my new jigsaw with the adjustable angle cut. It worked well for those areas that had a consistent angle, but I soon adjusted and returned to the sanding disk to make the finishing touches.

The forms were fitted to the strongback, and everything looks ready to go. Now to sort through my timber stack and select suitable pieces to cut into strips. I will need 300 19mm strips, of which about 60 will be full length – 4.72m long. That is only 0.076 cubic meters of timber.
Bow forms

Stern forms


Monday, 27 January 2025

Fitting forms to strongback

The plans state that each paper form should be exactly 10 inches from the next, starting at the bow and again at the stern, with the paper facing outward to the ends. I didn't use the recommended ½-inch thick MDF or plywood because I had a sheet of ¾-inch MDF. That threw off all the plan spacing, and I had to recalculate the spacing and the new distance at the centre where the two outward-facing papers now have a ¾-inch form on the inside.

Strongback and form with bow section
Having determined the spacing, I set about making U-shaped spacers to fit between the forms and over the aluminium strongback. Looking in my timber stack, I found a particle board sheet and cut it into strips: one for the bottom (top of the U) and two side strips. I then routed two grooves into the bottom and glued the two sides in at right angles. But first, I had to cut all strips to exactly the correct dimension for the space between the forms, not 9½ inches.

Cutting U spacers
I used the U-shape to get exactly the correct spacing between the paper forms, to get them at right angles to the strongback, and of course, to keep them parallel. The middle U is clever in that it has two wedges in it to force the forms apart towards the bow and stern.
U spacer

Having slid the forms on in the correct order and placed the U's in place, I then focused on the bow and stern end pieces. These are at right angles to the forms and are inserted into the ends of the strongback. At the very end of the bow is a piece of wood that forms a triangle onto which the actual strips are glued. The outline is given in the plan, but one has to work out where the narrowing starts and exactly where the sharp point is in the middle of the kayak.  The strips attach to this internal end piece.  An additional external bow and stern piece is then added when the kayak is almost finished and glued together.

Calculating the shape of inner bow section
Again, the thickness of my form wood complicated the calculations. I took a lovely piece of myrtle and put it through the thicknesser to get just the right thickness. Then I started to plane the end to a point, following the curve of the bow dimensions. This isn't glued to the bow or stern form but taped in place for when one comes to remove the forms from the finished kayak halves.

Inner bow section in place with tape
All set to slide the forms onto the strongback, but I hadn't finished shaping the forms into their final form, which required the bandsaw to cut the exact shape. Having cut three forms and sanded them to fit the curvature of the hull from the bow and to the exact outline of the plan, I started the fourth.

I started the bandsaw and placed the form to begin cutting. I was about 30 cm into the cut when BANG! The bandsaw blade broke. No worries, I had a spare, but it turned out to be so blunt that the wood started to smoke. Getting a replacement blade on the Friday of the Australia Day long weekend for a Delta 28-140, which is 45 years old, is a challenge for which I have no solution.

The next post will explain what I did in the interim. 

Sunday, 26 January 2025

Kayak plans and cutting the forms

The template was completed with valuable lessons learnt about how the plans fit onto the forms and the form's angle as the distance from the bow changes. This also impacts the thickness of the spot glue between the strip and the form.

First, print out the PDF plan on full-size sheets of paper. For the microBootlegger, this requires 8 sheets. A plan printing shop or Office Works can handle this for you. Next, cut out the outlines, leaving a good paper border around each shape. I drew a red pencil line as my cutting guide. Arrange these pieces on a large sheet of plywood or MDF board to minimise material waste. Apply spray contact adhesive to both the paper and the board, then gently lay the plan pieces down, smoothing each one as you place it.

Plan glued to form board
I recommend using a jigsaw with a suitable wood blade to cut these forms from the board, following your red line. Needless to say, my 30-year-old Metabo jigsaw finally succumbed to metal fatigue—snapping the plunger in the process. Fortunately, I had a backup, and the work continued.

Cutting forms to shape
Next, remove the hole for the strongback in each form. This plan specifies a 2-by-4-inch hole in each form to indicate its alignment on the strongback. There are multiple strongback designs for kayak and canoe building. Generally, canoe builders use an external strongback since they don't need to turn the boat over, whereas kayaks require flipping to complete the deck. An internal strongback allows you to turn the entire building unit over when transitioning from hull to deck.

Router jig
Removing the forms and strongback after completing both sides is straightforward. There's a part line in the strip planking where you don't glue the hull strip to the deck strip. Once completed, a bit of careful separation reveals the strongback and forms.

Cut forms Bow and stern
I chose an aluminium 2x4 box beam as the strongback and sought a second-hand option in Canberra. An Italian builder completing a large house was selling excess materials. After intense negotiation, I acquired a 6.2-meter aluminium box beam and a crate of rusty G-clamps for half the price of a new beam.

To cut the beam hole in each form, I used a jig screwed to the form and a table router to create a perfect 2x4 rectangle in the correct position. Using the band saw, I cut around the final plan line—though not without challenges. The bow and stern's sharp angles mean the first few forms, slightly over one inch (73mm) thick, have varying angles from the paper plan on the front to the form's back.

The first form widens at the back, requiring precise cutting with allowance at the aft section. The angle of change isn't consistent because the hull's top is straight while the waterline side shows the most significant angle variation.

Unshaped forms on aluminium strongback
After cutting, I used my rotating sander (built during the Malua construction) to sand the forms to the exact shape. The next step involves fitting the forms onto the strongback in the precise position and squaring them to the centre line.

To be continued in the next post.

A test temple for stripping the Kayak

Template finished
With all the preparation in place, I thought I had better test the system and see what the Myrtle strips would look like. So I pasted form #29 and form #39 onto some board and created a pseudo strongback with the shaped forms in place. Then I cut a few strips from a piece of Myrtle I had in the timber stack. They were about 700mm long, approximately one inch wide, and about ¼ inch thick. 

That done, I covered the edges of the form with clear packing tape so the hot melted glue would not permanently stick. OK, start at the part line – that is the line between the hull and the deck at which, after planking the kayak, you pull the two sections apart and start to remove the strongback and the forms. You are left with two rather thin wood and epoxy skins ready for the cloth and resin to be applied on the inside – then joined together. 

Attach the first strip at the part line with hot glue from the glue gun and bingo, the boat has started. Next, take a second strip and butt it horizontally against the first and ensure that the two faces are a perfect match. **Note: Close enough is not good enough. The two pieces of wood have to match exactly, or you will see the joint. 
Testing strip at part line
How does one match the two pieces? Plane the lower attached strip with your special micro plane which is only ¼ inch wide. Test, fit, look, plane just a little more off, look, adjust, and finally, when it is perfect – look again. Only then are you ready to apply glue to the two pieces. 

The glue used in this situation is very special. It is Titebond Original – the one with the red label. Now, I have been using this brand for years, but not the Original, which has a tack (when it starts to get tacky and attach) time of only minutes. It starts to dry and harden within minutes, so you have to work quite quickly. Add a thin line of glue to the secured strip. Get your hot glue gun ready and apply the next strip. Where it touches the form, apply a small spot of glue and press the strip to the form and wait till glue hardens – seconds. Do the same to the next form, and you have the second strip attached, but you now have to keep the second strip hard up against the first. 
Template almost finished Green masking to hold together

To do this, use the special rough green masking tape and bind the two strips together from front side to the back. Where applicable, one can use a G clamp or a piece of ply with a slot cut in it the same size as the two strips. This keeps the two strips aligned together – clever. 

Leave for about an hour and continue adding strips. 

If you are in a hurry, one can staple the added strip to the form, and you don't need to use tape or wait. BUT when you remove the staple, you leave a set of two holes where the staple went through the strips. I just don't like the look of that, so time and tape will be my method. 

I proceeded along this path until I had covered one side of the two forms of my template. 

**Lesson Learned: Before attaching any strips, put them through the thicknesser to ensure that they are all the same thickness. The table saw does not cut them consistently to the same thickness. Also, make sure they are square at the edges and straight so that when you butt them up against each other, they will not leave a gap. Take your time to see the two strips match each other perfectly. You cant undo the join if the gap shows!

Thursday, 23 January 2025

Has the Project begun? First sharpen the tools

 According to folklore, the Smeetons in their vessel Tzu Hang were pitch-poled on their eastward rounding of Cape Horn.  Accompanying them was a shipwright friend (his vessel's name was Trakka). Beryl was injured.  The boat had been dismasted, partially submerged and the wooden topsides extensively damaged.

John Guzzwell the shipwright was found as the sun rose over the furious seas to be sharpening his plane and chisels.  Miles asked "what are you doing? We are about to sink"  John replied "I am thinking how to save the ship."

So not wanting to rush into this project I sat down and sharpened all and every sharp edge in my workshop.  That done I could start the project.

What equipment do I have at my disposal considering I spent many long hour working in 1973 for Henty - a shipwright, more creating the ten dining room chairs we currently sit upon and of course fitting out Malua.  Combined all my tools with those of my late father one can almost say I have two of every thing needed.

Here is some of what I have:

Thicknesser and dust extraction

Band saw

Radial arm saw

Table router with fence

Table saw with extra blades

There are many hand tools like D handled jig saw, two belt sanders, two electric planer and the many sanding pieces of equipment I made to make a wood working job easier.  More on those later

Let the Project begin but first have you the gear?

 Ok cleared the workshop. Put all the tools in the correct place.  But do I have the right tools for the strip planked job?  Do you have enough G clamps? What about spring clamps? And of course the correct plane? and what about your thicknesser blade? Does the table saw have a sharp blade?

Question that need answers even before the first form is put on the strong back.

Below are just some of the answers to those questions.  A picture can tell a better story.

Planes

Spring clamps, Glue guns and Staple guns

Not all the Clamps

What of the standard wood working tools? See next post


Wednesday, 22 January 2025

Finding space for the Kayak project

 When I built/fitted out Malua it was an easy decision as to where it would go.  The reserve was at the back of our house at the end of the garden .  The empty hull which was trucked from Cardiff NSW had access to the reserve but the crane could only lift the 12 tonne vessel and swing it about 4 m into the garden so that determined its location.  I then created concrete blocks onto which I built a steel cradle and into which the hull was placed.

No this micro Bootlegger kayak is only 4.26 m long and weighs only about 40 kg so the space requirements could be met.  My workshop is the single garage of our house but during the Malua build I added a carport to house the timber for the fit out.  Then came the new EV car and that could not as all our other cars stand outside in the rain so I cleared the carport of all the stuff one accumulated during a vessel build plus extra containers of "may be useful one day".

With this cleared space and the new vehicle the old half height gates had to be replace with a remote controlled roller door so one drives directly into the carport/garage space - how modern.

Now the carport was easy to clean up - just move the car but the workshop was a different matter.  That took almost a month of creating shelves, spaces and moving items from their traditional place to a new place. Also involved were many trips to the dump and recycling area.

It looks a mess but I can assure you I need every single piece of equipment and tool in the photo.


OK what have I got for all the effort see below


Now the project can begin.  I will also set out the tools and equipment I will use during the strip planked build.
Now the forms and strongback...


Building the Cockpit Coaming

 This strip-planked kayak is a sit-in version, not a sit-on, so we have a cockpit and of course a seat.  While strip planking over the frame...